How to Gold Leaf Pumpkins (No Paint Needed)
This post contains Amazon affiliate links. As an Amazon Associate, I earn from qualifying purchases at no extra cost to you.
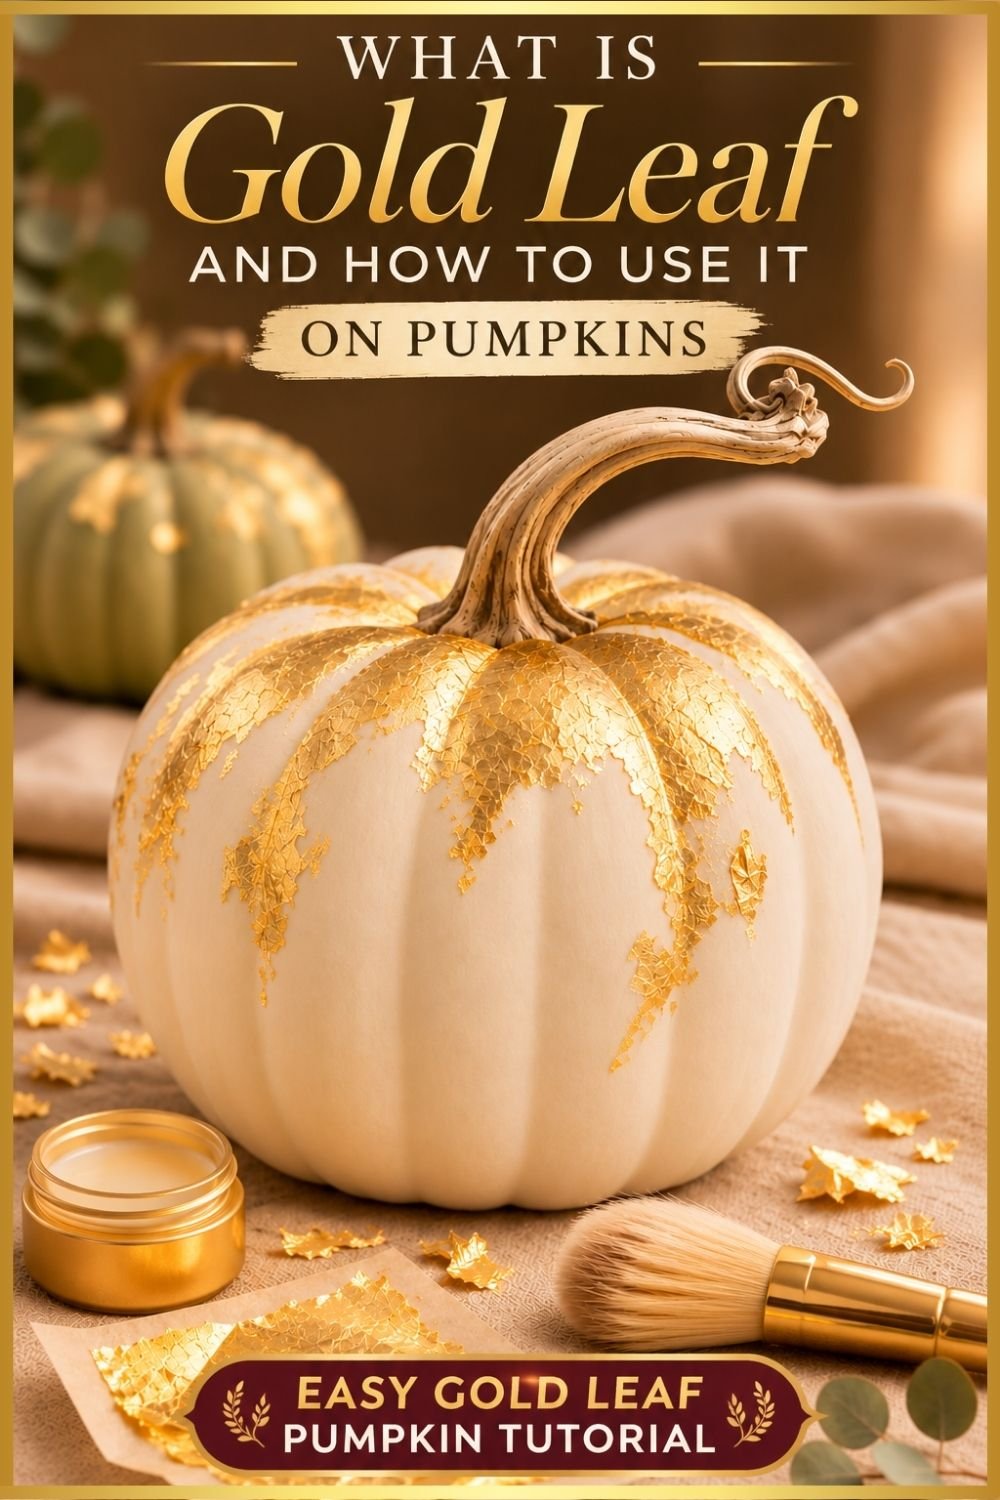
Gold leaf pumpkins look like something from a high-end boutique, but they take about 20 minutes and cost less than a single designer gourd. You don’t need paint, a steady hand, or any crafting background. A little adhesive, a few sheets of imitation gold leaf, and a soft brush are enough.
This tutorial walks you through the whole process, from picking the right pumpkins to sealing the finish so it stays bright. You’ll also find three different gilding looks and styling ideas for dining tables, dessert bars, mantels, and rental properties.
Why Gold Leaf Pumpkins Look So Expensive
The secret is restraint. A pumpkin covered head to toe in gold can read as costume. Leaving patches of natural skin visible makes the gold look like an intentional, artisan finish, the kind you see in luxury hotel lobbies.
Real vs. imitation gold leaf: Genuine gold leaf is pounded from actual gold and priced accordingly. Imitation leaf (often called composition leaf or Dutch metal) is made from brass alloys and gives nearly the same look for a fraction of the price. For seasonal decor, imitation leaf is the smart choice. One pack of 100 sheets will cover dozens of pumpkins, because a few sheets go a surprisingly long way.
The one trade-off: imitation leaf can tarnish over time when exposed to air. A quick top coat solves that (more on this below).
Supplies You’ll Need
| Supply | Why you need it | Shop |
|---|---|---|
| White faux pumpkins (16-piece set) | Reusable cream-white base that needs no paint, in mixed sizes for clustering | Shop on Amazon |
| Gold leaf gilding kit (adhesive, varnish, 100 leaf sheets, 2 brushes) | The easiest all-in-one starter: glue, sealer, leaf and brushes in one box | Shop on Amazon |
| Mona Lisa composition gold leaf sheets (25-pack) | A trusted craft brand of imitation leaf; great for refills or a second batch | Shop on Amazon |
| Mod Podge Gloss (16 oz) | Works as adhesive for a flaky look and as a glossy protective top coat | Shop on Amazon |
| Country Chic all-in-one chalk paint, Bee’s Knees (optional) | Only if you’re starting with orange pumpkins: a soft buttery base that warms up the gold | Shop on Amazon |
| Large soft brush or fluffy makeup brush | Sweeps away loose flakes without scratching | You likely have one at home |
Tip: If you want the stems to stand out, buy faux pumpkins with real-looking wood or curly stems. Gilded stems are one of the most eye-catching details in this project.
Choosing the Right Pumpkins
Since this is a no-paint project, the pumpkin’s natural color does all the background work. Pick colors that make gold pop.
- Cream and white pumpkins: The classic choice. Gold against ivory looks soft, warm, and timeless.
- Sage and dusty green heirlooms: Gives a moody, modern-organic feel that pairs beautifully with brass.
- Blush and pale peach: Perfect for bridal showers, sweet 16 parties, and feminine tablescapes.
- Matte black pumpkins: Dramatic and very Halloween-glam; gold flakes look like jewelry against black.
Faux or real? Faux pumpkins (foam or resin) are the better investment because you can reuse them every fall. Real pumpkins work too; wipe them with rubbing alcohol first so the adhesive grips, and expect them to last a few weeks.
Skip bright orange pumpkins. Gold and orange sit too close in tone, so the leaf loses its shine and can look muddy, especially in photos.
How to Gold Leaf Pumpkins: Step by Step
Time: about 20 minutes per pumpkin, plus drying time. Skill level: beginner.
- Prep the surface. Wipe each pumpkin with a dry cloth to remove dust. For real pumpkins, wipe with rubbing alcohol and let them dry fully.
- Plan your placement. Decide where the gold will go: the stem, the top shoulders, or random scattered patches. Leaving at least half the pumpkin bare keeps it elegant.
- Dab on the adhesive. Dip just the tips of a chip brush into the adhesive and pounce it onto the pumpkin. A heavy, even coat gives solid gold areas; light dabs give a broken, flaky texture.
- Wait until it’s tacky. Gilding size needs about 10 to 15 minutes to turn clear and sticky. Mod Podge can be leafed while slightly wet. Test with a knuckle: it should feel like the back of a sticky note.
- Lay on the leaf. Lift a sheet with its tissue backing (or with gloves) and press it onto the tacky area. Pat gently with a soft brush so it hugs the ribs and curves.
- Brush away the excess. Sweep a large soft brush over the pumpkin in small circles. Loose gold falls away from the dry areas and stays only where the adhesive is.
- Fill gaps if needed. Missed a spot you wanted covered? Dab on a little more adhesive and press a scrap of leaf over it. Save loose flakes in a jar for this.
- Seal it. After about an hour, brush on a thin coat of the varnish from your gilding kit or Mod Podge Gloss. Two light coats beat one heavy coat.
3 Gold Leaf Looks to Try
Use one look across a whole group, or mix all three for a collected, designer-styled cluster.
1. The Scattered Flake
Stipple adhesive randomly across the pumpkin with just the bristle tips. The leaf sticks in small, irregular flecks that catch candlelight. This is the most forgiving look for first-timers, since imperfection is the whole point.
2. The Gilded Crown
Cover the top third of the pumpkin around the stem in solid gold, then feather the edge downward with lighter dabs. It looks like the gold is melting down the sides. This works especially well on tall Cinderella or tiered pumpkins.
3. The Golden Stem
Brush adhesive fully over the stem only and wrap it in leaf. Leave the pumpkin body bare. It’s the most minimal option and looks stunning on a long row of white pumpkins down a dining table.
Tips for a Flawless Finish
- Work away from fans and open windows. Gold leaf is thinner than tissue paper, and the slightest breeze will send it flying.
- Don’t touch the leaf with bare fingers. Skin oils leave dull spots. Use the backing paper, gloves, or a soft brush.
- Be patient with the adhesive. Leafing too early makes the gold slide and smear; too late and it won’t stick. Tacky is the sweet spot.
- Embrace the cracks. Small breaks and wrinkles in the leaf look antique and expensive. Don’t try to smooth everything out.
- Always seal imitation leaf. Unsealed brass-based leaf can darken or turn greenish over a season, especially in humid climates.
- Store carefully. Wrap finished faux pumpkins in tissue paper, not bubble wrap, which can stick to the sealer and pull flakes off.
How to Style Your Gold Leaf Pumpkins
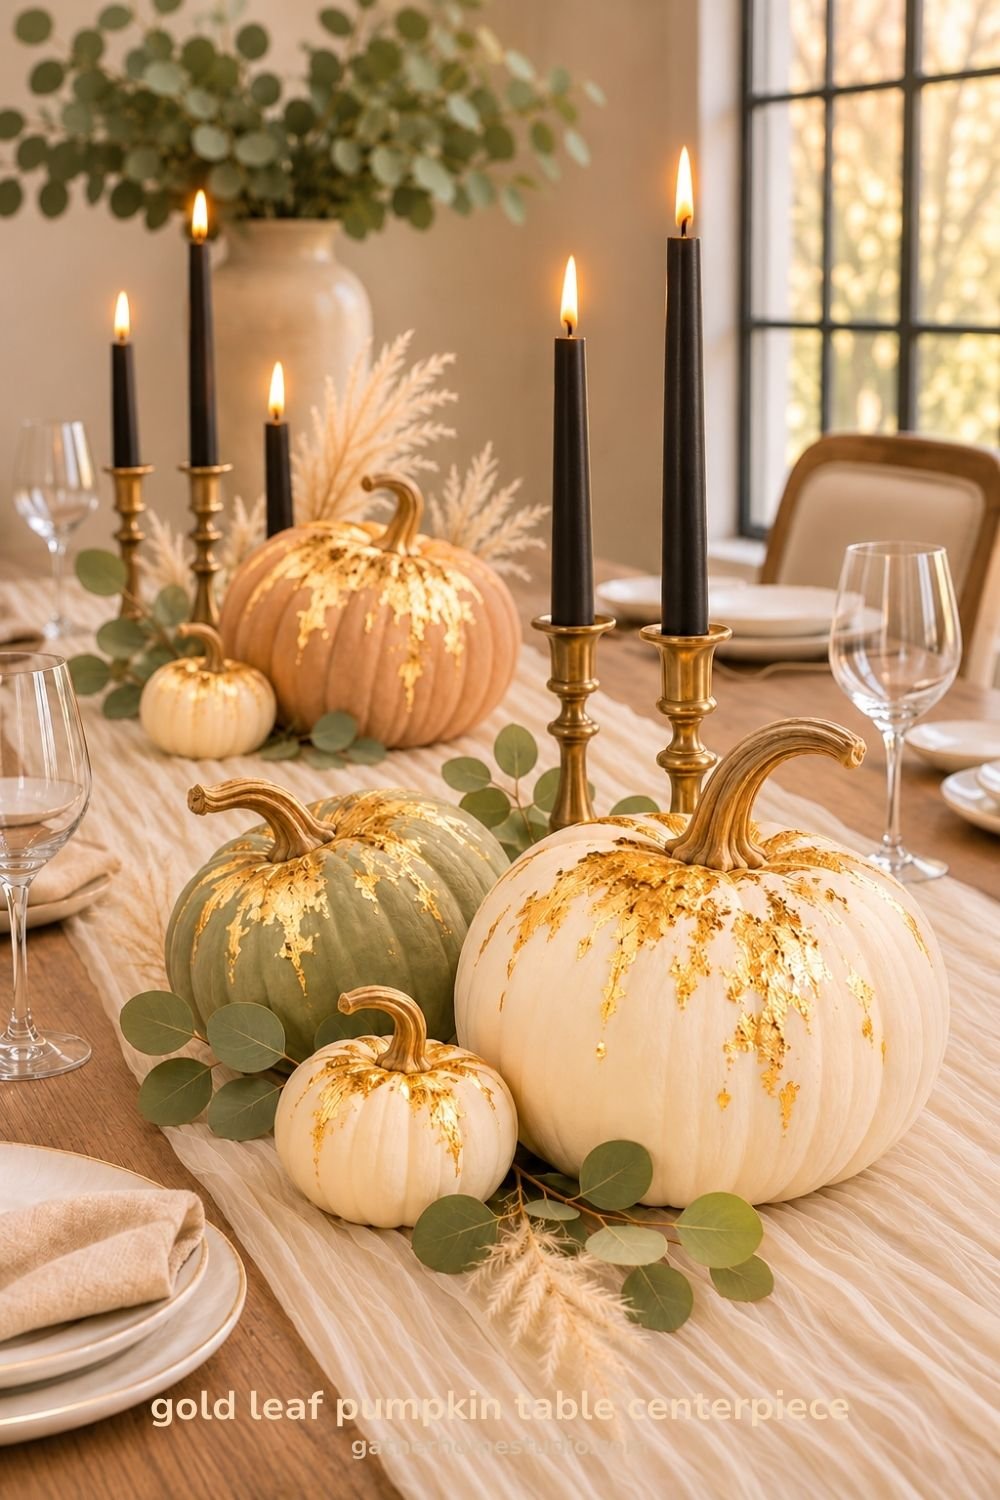
Elegant dining table: Run a cluster of three, five, or seven pumpkins down a soft beige cheesecloth table runner. Add black 12-inch taper candles in brass holders, then tuck faux eucalyptus stems and a few plumes of dried pampas grass between the pumpkins. Odd-numbered groupings look more natural than pairs.
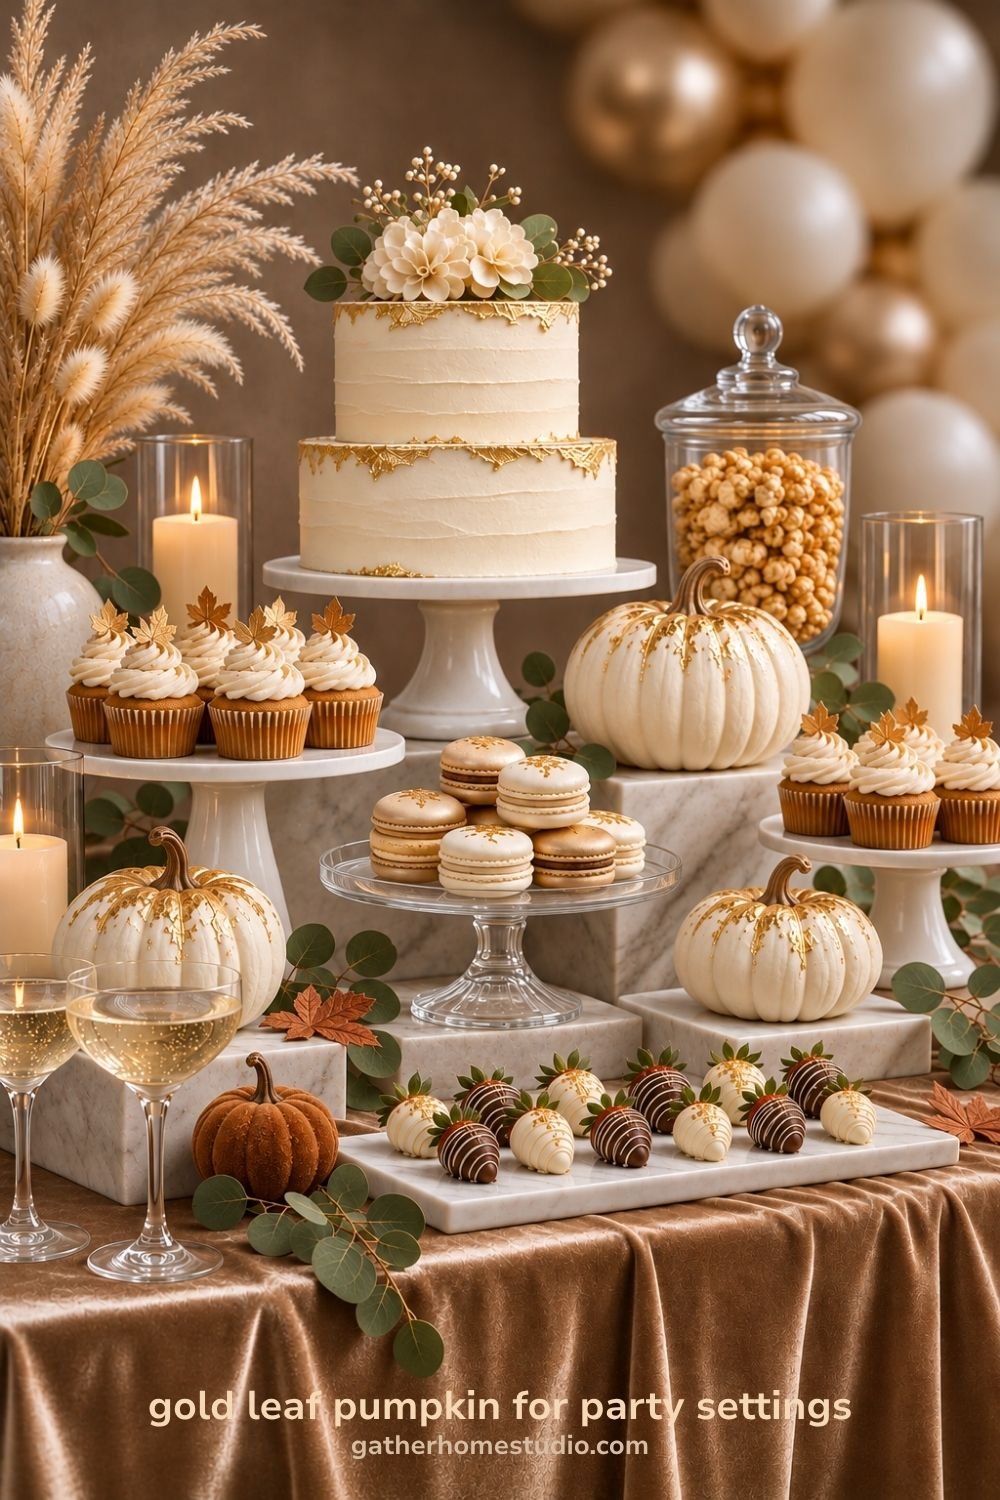
Party dessert bar: Set gilded pumpkins on cake stands or marble risers at different heights between treats. Drape an artificial eucalyptus garland along the front edge of the table and weave in battery-operated fairy lights so the gold catches a soft glow. A champagne, ivory, and gold palette works for fall birthdays, bridal showers, and Friendsgiving.
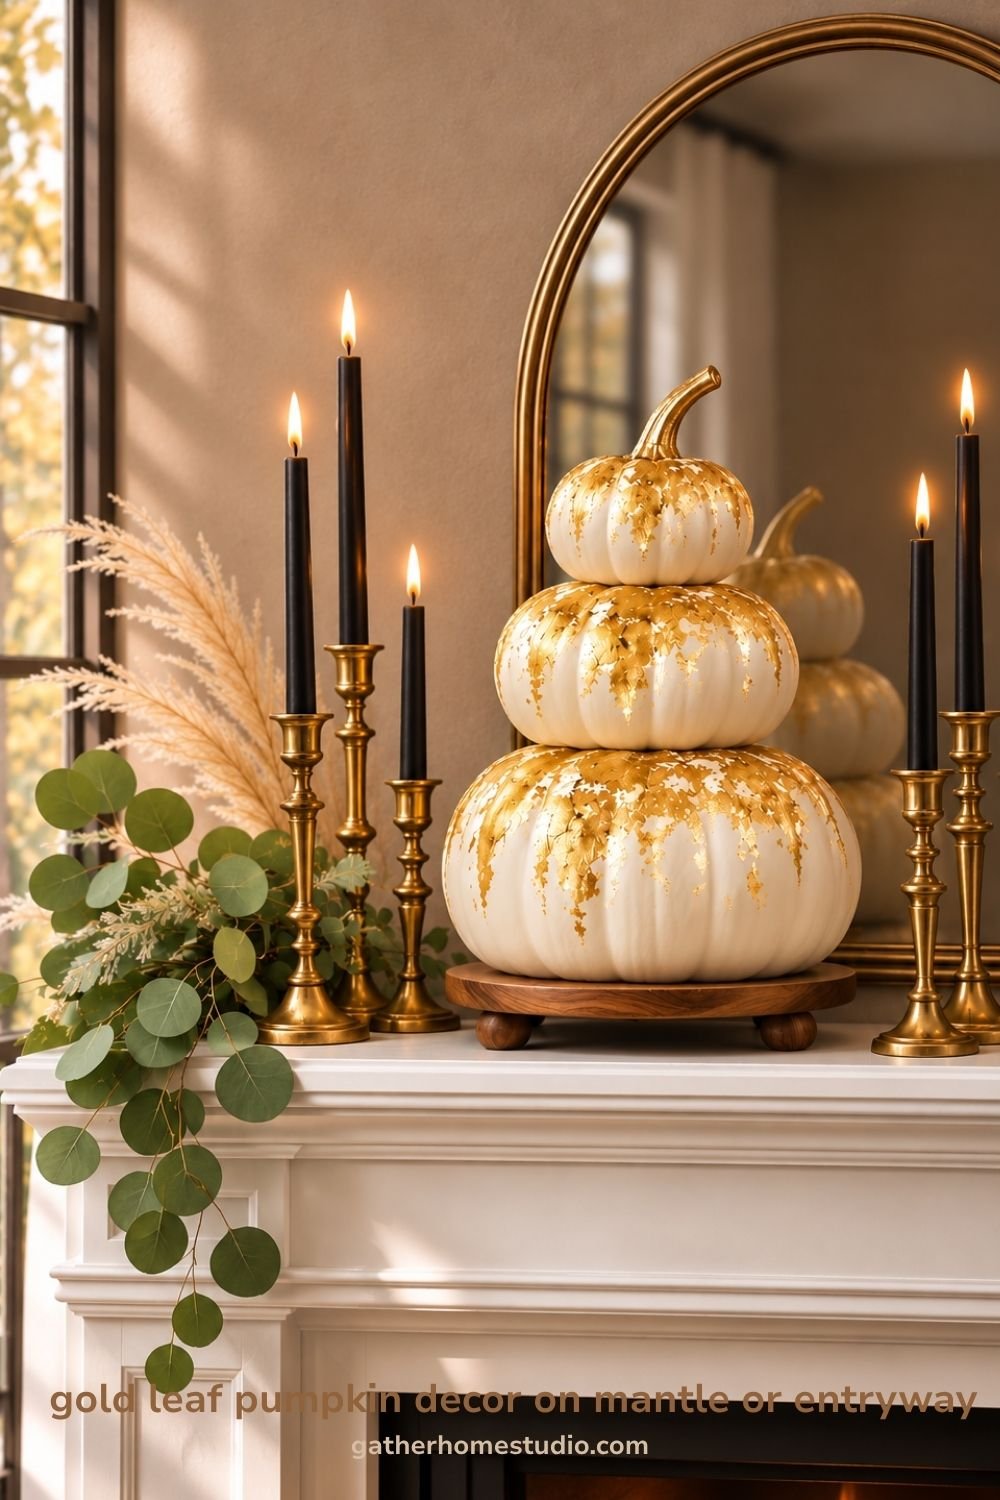
Mantel or console: Stack two or three pumpkins of different sizes on a wooden decorative tray or a pile of neutral coffee table books. Flank them with black taper candles in brass candlesticks and a mirror to bounce the shimmer around, then let an eucalyptus garland trail off one end of the mantel with a few stems of pampas grass for height.
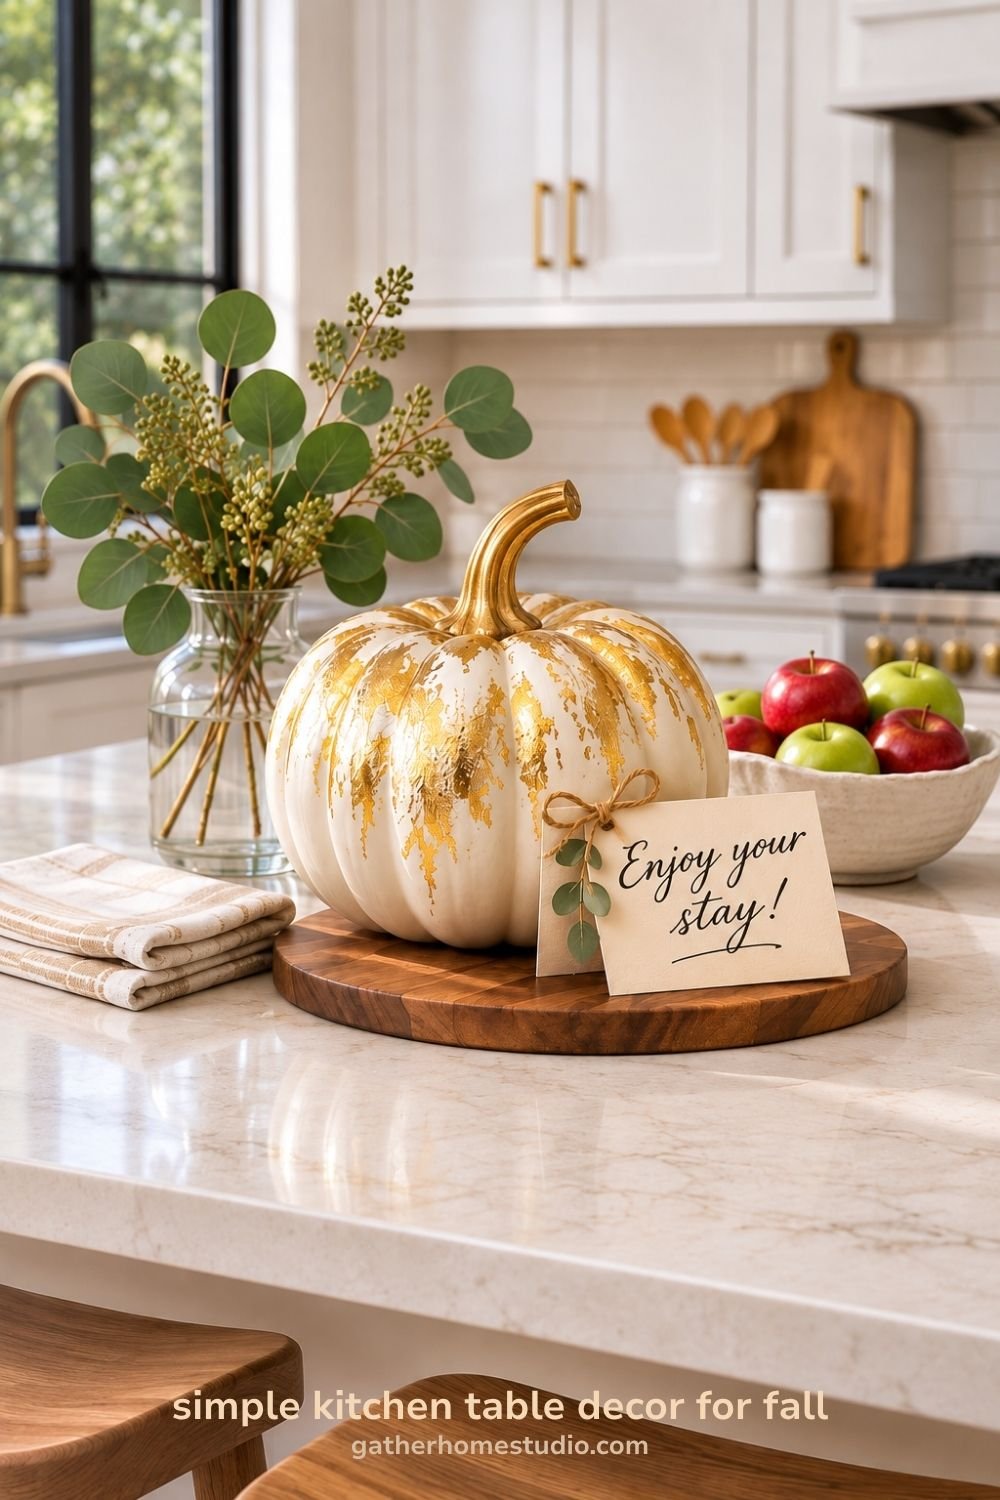
Airbnb and rental styling: A single gold-stemmed white pumpkin on a wooden serving tray, set on an entry table or kitchen island next to a vase of faux eucalyptus stems, gives listing photos an instant seasonal upgrade. Because faux pumpkins are reusable and durable, they’re a low-maintenance touch guests won’t damage.
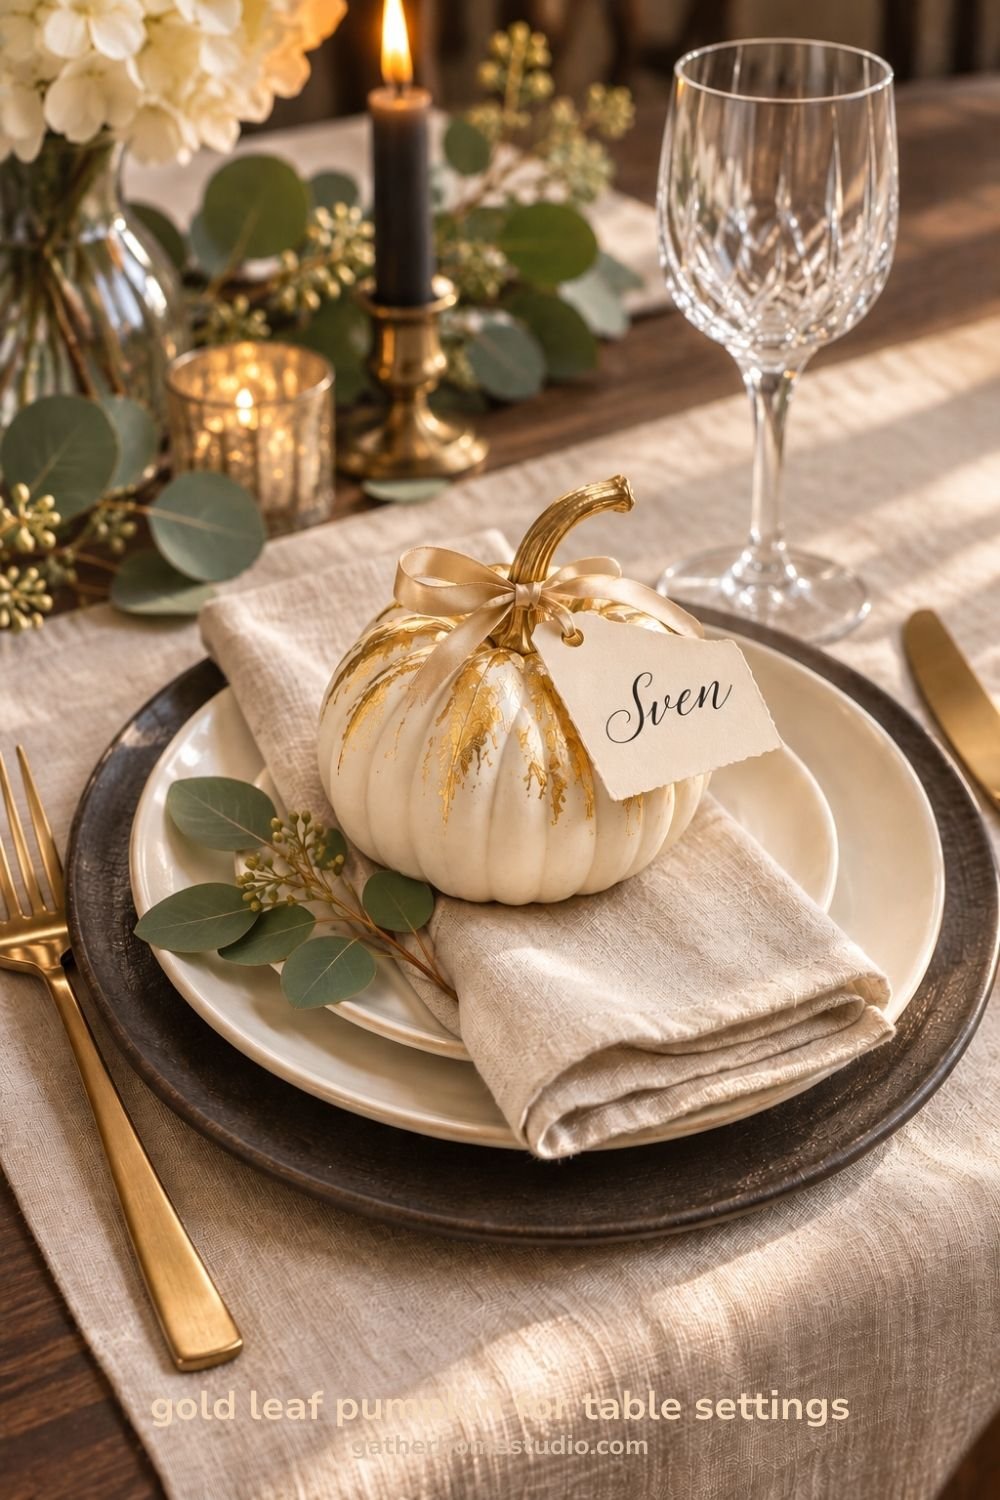
Gift or place setting: Mini gilded pumpkins make lovely place-card holders. Tuck a name card into a small slit in the stem or tie one on with silk ribbon, and add a short sprig of faux eucalyptus on the napkin for a finished look.
Frequently Asked Questions
Can I gold leaf a real pumpkin? Yes. Clean it with rubbing alcohol, let it dry, and follow the same steps. It will last as long as the pumpkin does, usually a few weeks indoors.
Is Mod Podge or gilding size better? Gilding size gives a crisper, more reliable bond and a brighter finish. Mod Podge is easier to find and works well for a flaky, rustic look. Both are beginner-friendly.
Do I need to paint the pumpkins first? No. Buying faux pumpkins in cream, white, sage, or black skips painting entirely. If you only have orange pumpkins, a coat of soft, buttery chalk paint like Country Chic’s Bee’s Knees will help the gold stand out.
How many gold leaf sheets do I need? Far fewer than you’d think. A medium pumpkin with partial coverage uses about one to two sheets.
Will the gold leaf rub off? Unsealed leaf can flake with handling. A thin coat of gilding varnish or Mod Podge Gloss locks it in and keeps imitation leaf from tarnishing.
Final Thoughts
Gold leaf pumpkins prove that luxe decor doesn’t need a luxe budget. Start with one pumpkin and the scattered-flake look, and you’ll likely be gilding everything in sight by the end of the afternoon. Since faux pumpkins last for years, this is one fall project you’ll get to enjoy season after season.
Love this idea? Save it to your Pinterest fall decor board so you can find it again!